
In our technologically advanced world, a strong and robust home network has become a necessity. With the increasing number of devices connected to the internet, a reliable and stable network connection has never been more important. While Wi-Fi has its advantages, a wired home network provides unparalleled speed, security, and stability. This article will guide you through the process of installing Ethernet cables and switches to ensure a reliable connection in your wired home network.
Why Choose Ethernet Cables and Switches?
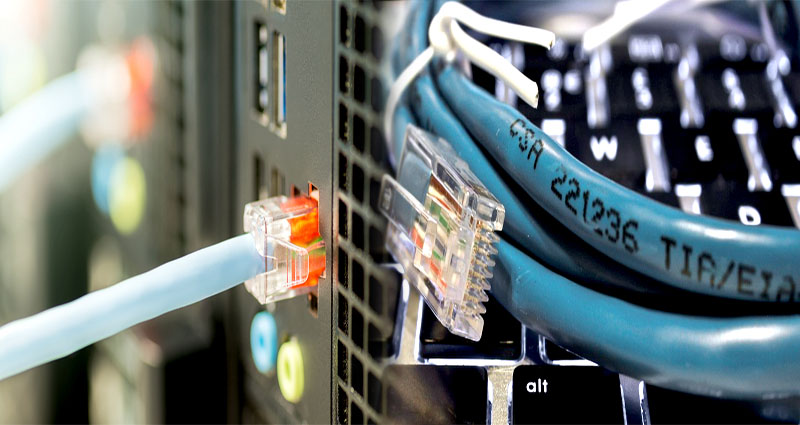
Ethernet cables are the foundation of any wired network. They transmit data at high speeds and offer a stable connection, making them ideal for demanding applications such as online gaming, media streaming, or file transfers. When combined with switches, Ethernet cables enable multiple devices to connect within the network, eliminating the need for individual wireless connections.
Equipment Needed
Before diving into the installation process, gather the necessary equipment:
- Ethernet cables: Choose Category 6 (CAT6) or higher cables for optimal performance. Measure the required length based on the distance between your devices and the central switch location.
- Ethernet switches: Select a switch with enough ports to accommodate all your devices, with an additional few for future expansions.
- Crimping tool and connectors: These tools are essential for customizing cable lengths and attaching connectors.
- Drill and screws: If you need to mount the switch on a wall or any other surface.
With the equipment ready, let’s move onto the installation process.
Step-by-Step Installation Guide
- Plan the network layout: Analyze the locations of your devices and determine the optimal routing for the Ethernet cables. Consider the length required and any potential obstacles such as walls or furniture.
- Prepare the cables: Measure and cut the Ethernet cables to the desired lengths, leaving a little extra room for flexibility. If you need to attach connectors, strip about an inch of the outer jacket from each end using a cable stripper. Follow the instructions provided with the connectors to crimp them onto the stripped ends of the cables.
- Connect the cables: Starting from the primary switch or router, connect one end of each Ethernet cable to the available ports. Use cable management tools, such as clips or cable ties, to keep the cables organized and prevent tangling. Run the cables along walls or baseboards, using cable clips or adhesive tape to secure the cables in place. Be mindful of potential tripping hazards.
- Install switches: If your network requires additional switches to accommodate all devices, select suitable locations for them. Using a drill and screws, mount the switches on walls or surfaces near the devices they will connect. Connect the other end of each Ethernet cable to one of the switch ports. Ensure that the cables are inserted firmly into the ports to establish a solid connection.
- Test the network: Once all the cables and switches are connected, power on the primary switch or router followed by the additional switches. Verify that each device is successfully connected to the network by checking for an active link light on both the device and switch port.
- Secure the network: To protect your wired home network from unauthorized access, enable security features such as firewall settings and WPA2 encryption. Restrict access to the network by setting a strong password for the router.
Installing Ethernet cables and switches for your home network may seem daunting at first, but the benefits of a reliable and stable connection outweigh the initial effort. By following this step-by-step guide, you’ll be able to enjoy high-speed data transmission, improved security, and uninterrupted connectivity. Embrace the power and reliability of a wired home network and ensure a seamless experience for all your connected devices.
